Master the art of sunset and sunrise photography at Disney World. Plan your day around these magical times of light.
Sunrise: 6:30 - 7:30 AM
Sunset: 5:00 - 5:45 PM
💡 Tip: Arrive early at Magic Kingdom for castle sunrise shots. Perfect for afternoon park exploration.
Sunrise: 5:30 - 6:15 AM
Sunset: 6:45 - 7:30 PM
💡 Tip: Extended golden hour in evening. Hit Epcot pavilions after sunset for magical lighting.
Sunrise: 5:15 - 5:45 AM
Sunset: 8:15 - 8:45 PM
💡 Tip: Latest sunset hours. Plan park day for morning, rest midday, and shoot evening magic.
Sunrise: 6:00 - 6:45 AM
Sunset: 6:15 - 7:00 PM
💡 Tip: Ideal balance of timing. Perfect for both sunrise and sunset shots every day.
Book Lightning Lane for mid-day attractions so you can position yourself for golden hour at signature spots. Arrive at your primary photo location 15-20 minutes before sunset for best positioning. Use weather apps to check cloud formations—partly cloudy skies create the most dramatic sunset colors.
✓ Worth It If: You're visiting all four parks, want professional quality shots you can't take yourself (Character PhotoPass sessions, Magic Shots with characters), plan to create photo albums or prints, or want instant digital downloads.
~ Consider If: You're a casual photographer comfortable with your phone. Most shots can be replicated with good technique and planning. You only visit one park.
✗ Skip If: You're on a tight budget or taking minimal photos. Individual photo downloads ($15 each) are available if you find one shot you love.
Bottom Line: If you're visiting for 4+ days across multiple parks and value professional family photos, it's worth the investment. Otherwise, your phone camera plus the tips in this guide will serve you well.
Use Rule of Thirds: Enable grid in your phone camera. Place subjects off-center for more dynamic shots.
Leave Headroom: Don't center the castle in the frame. Place it in the top third.
Foreground Interest: Include something in the near frame (bushes, railings) to add depth.
Avoid Harsh Midday Sun: Shadows under eyes are unflattering. Wait for cloudy patches or go indoors.
Back/Side Lighting: Position people with sun behind or to the side for rim lighting effect.
HDR Mode: Turn on in bright conditions to preserve detail in both shadows and highlights.
Tap to Focus: Don't rely on auto-focus. Tap the subject's face to lock focus.
Swipe Down to Expose: Slide finger down after tapping to darken exposure in bright conditions.
Lock Exposure: Press and hold to lock both focus and exposure before moving camera.
Use Portrait Mode: Creates natural depth blur (bokeh) that makes subjects pop.
6+ feet away: Ensure adequate distance for portrait blur to work effectively.
Good lighting: Portrait mode excels in bright daylight. Avoid dim indoor spots.
Clean Lens: Wipe your phone lens on your shirt before shooting.
Burst Mode: Hold shutter button to rapid-fire 10+ shots. Pick the best one.
Wide Lens: Use 0.5x for broader landscape shots. Stick with 1x for people.
Snapseed: Free Google app for selective brightness and color adjustment.
VSCO: Beautiful presets. Start with subtle filters, not heavy effects.
Lightroom Mobile: Professional-grade editing. Increase shadows, decrease highlights.
Best Locations: Town Square Theater area for clear sight lines, or Tomorrowland bridge for castle inclusion.
Timing: Arrive 20 minutes early to secure position. Most parks launch at 9 PM.
Camera Settings: Use Night mode if available. Hold phone steady on a selfie stick or against a post.
Pro Tip: Record video instead of photos. You'll capture more explosions, then screenshot the best frame later.
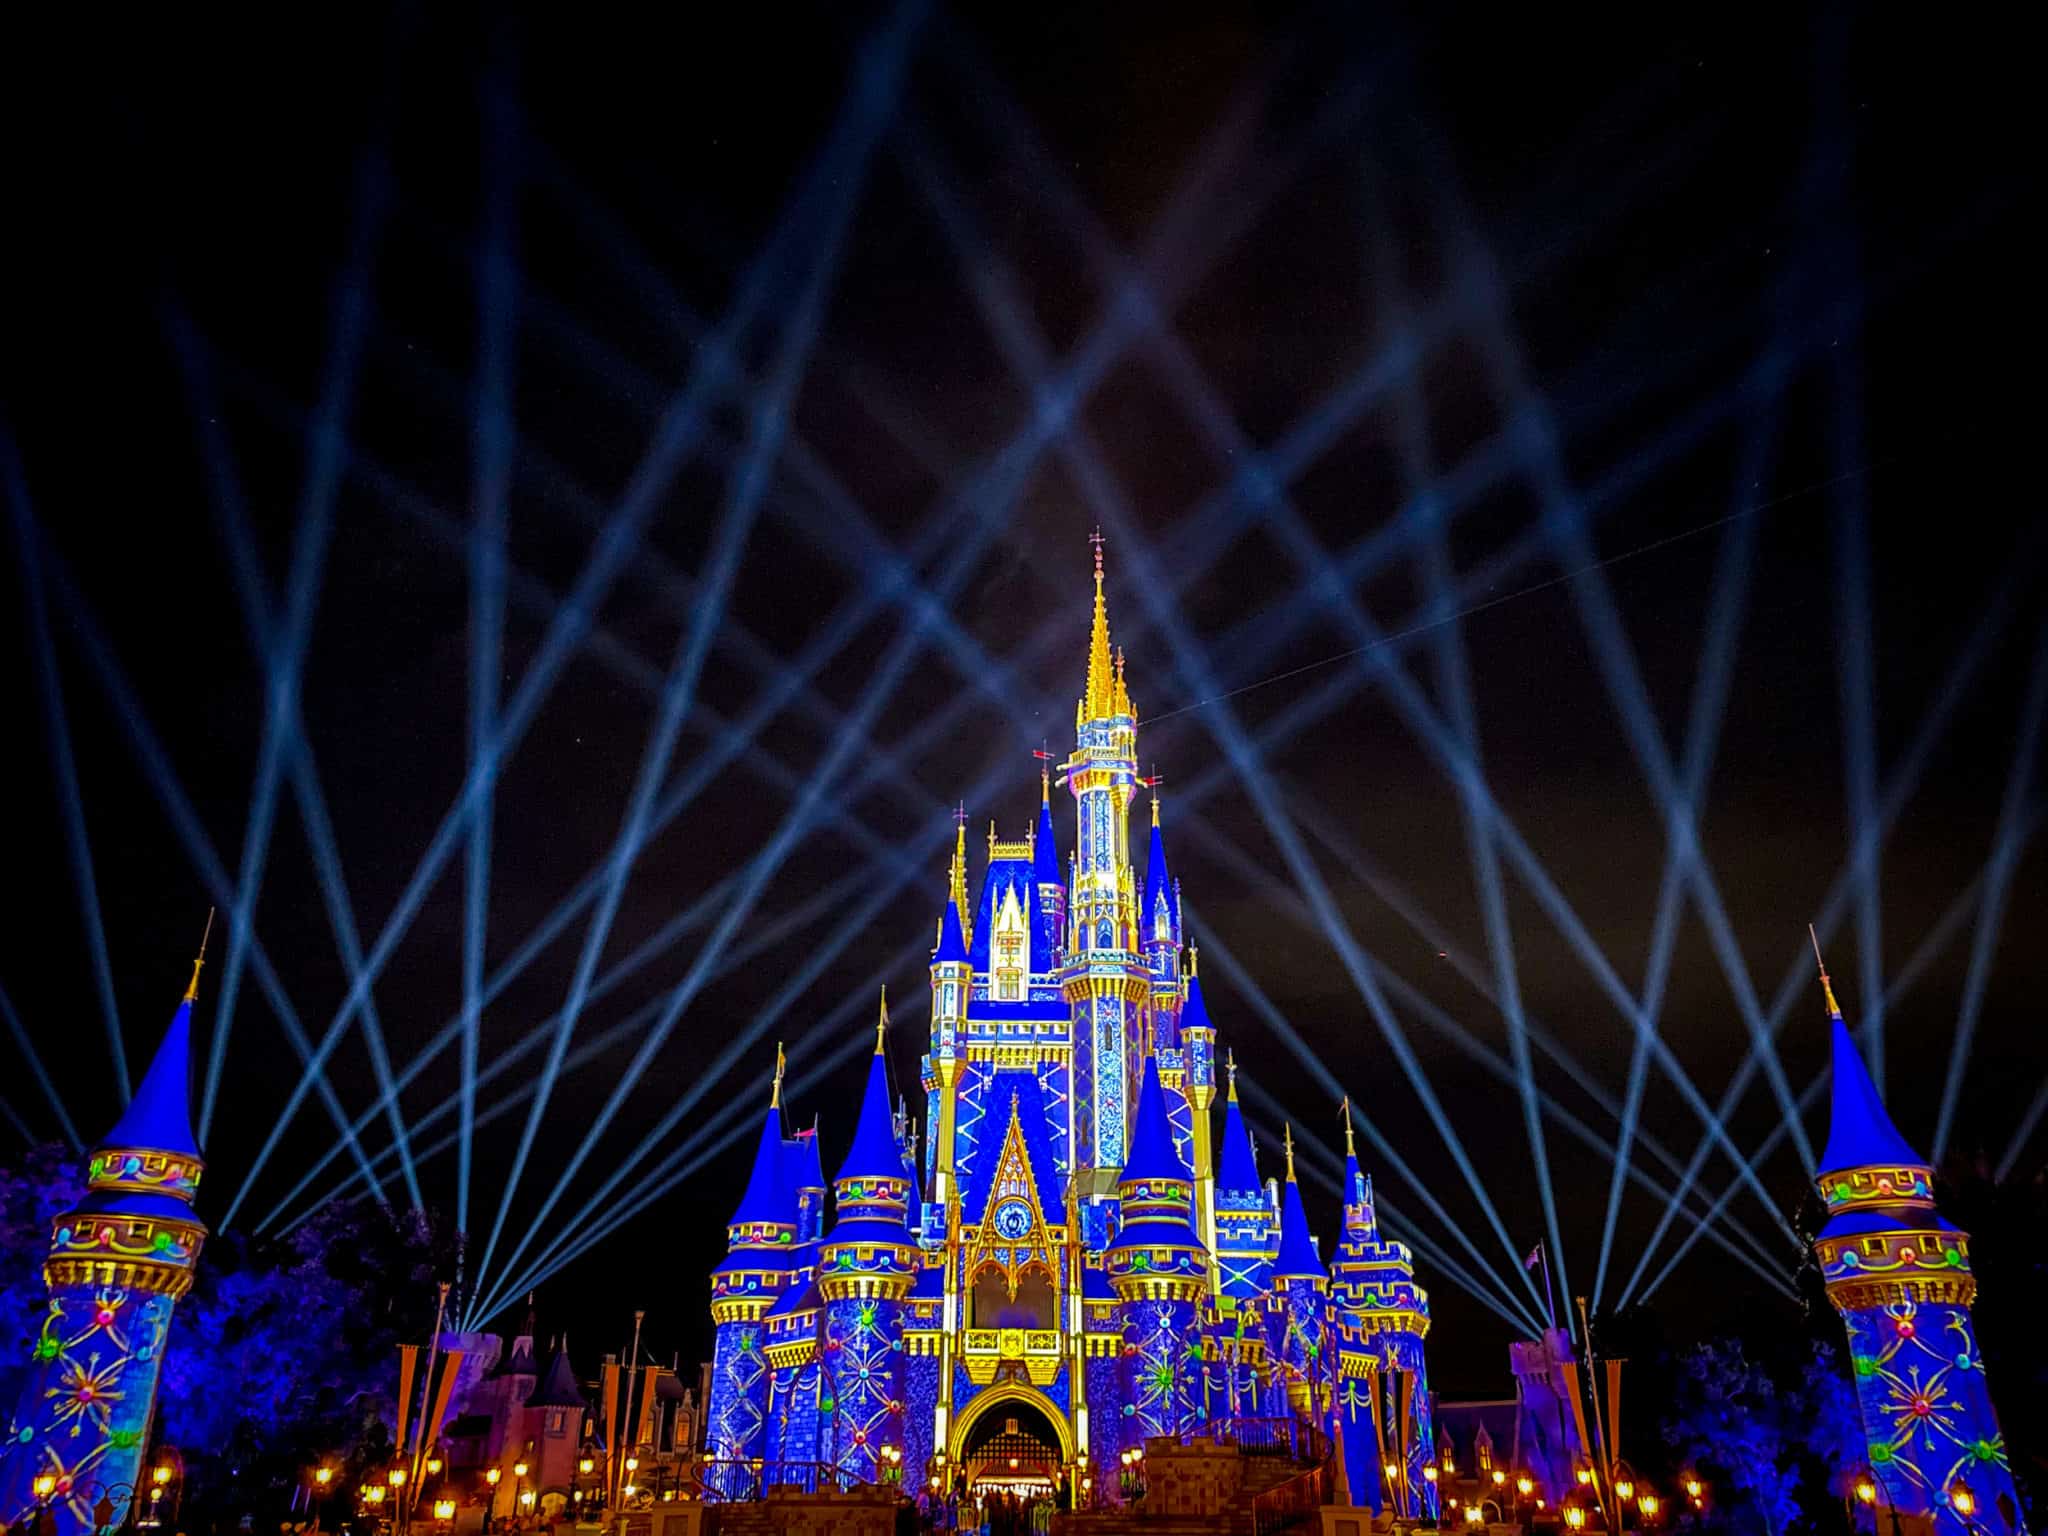
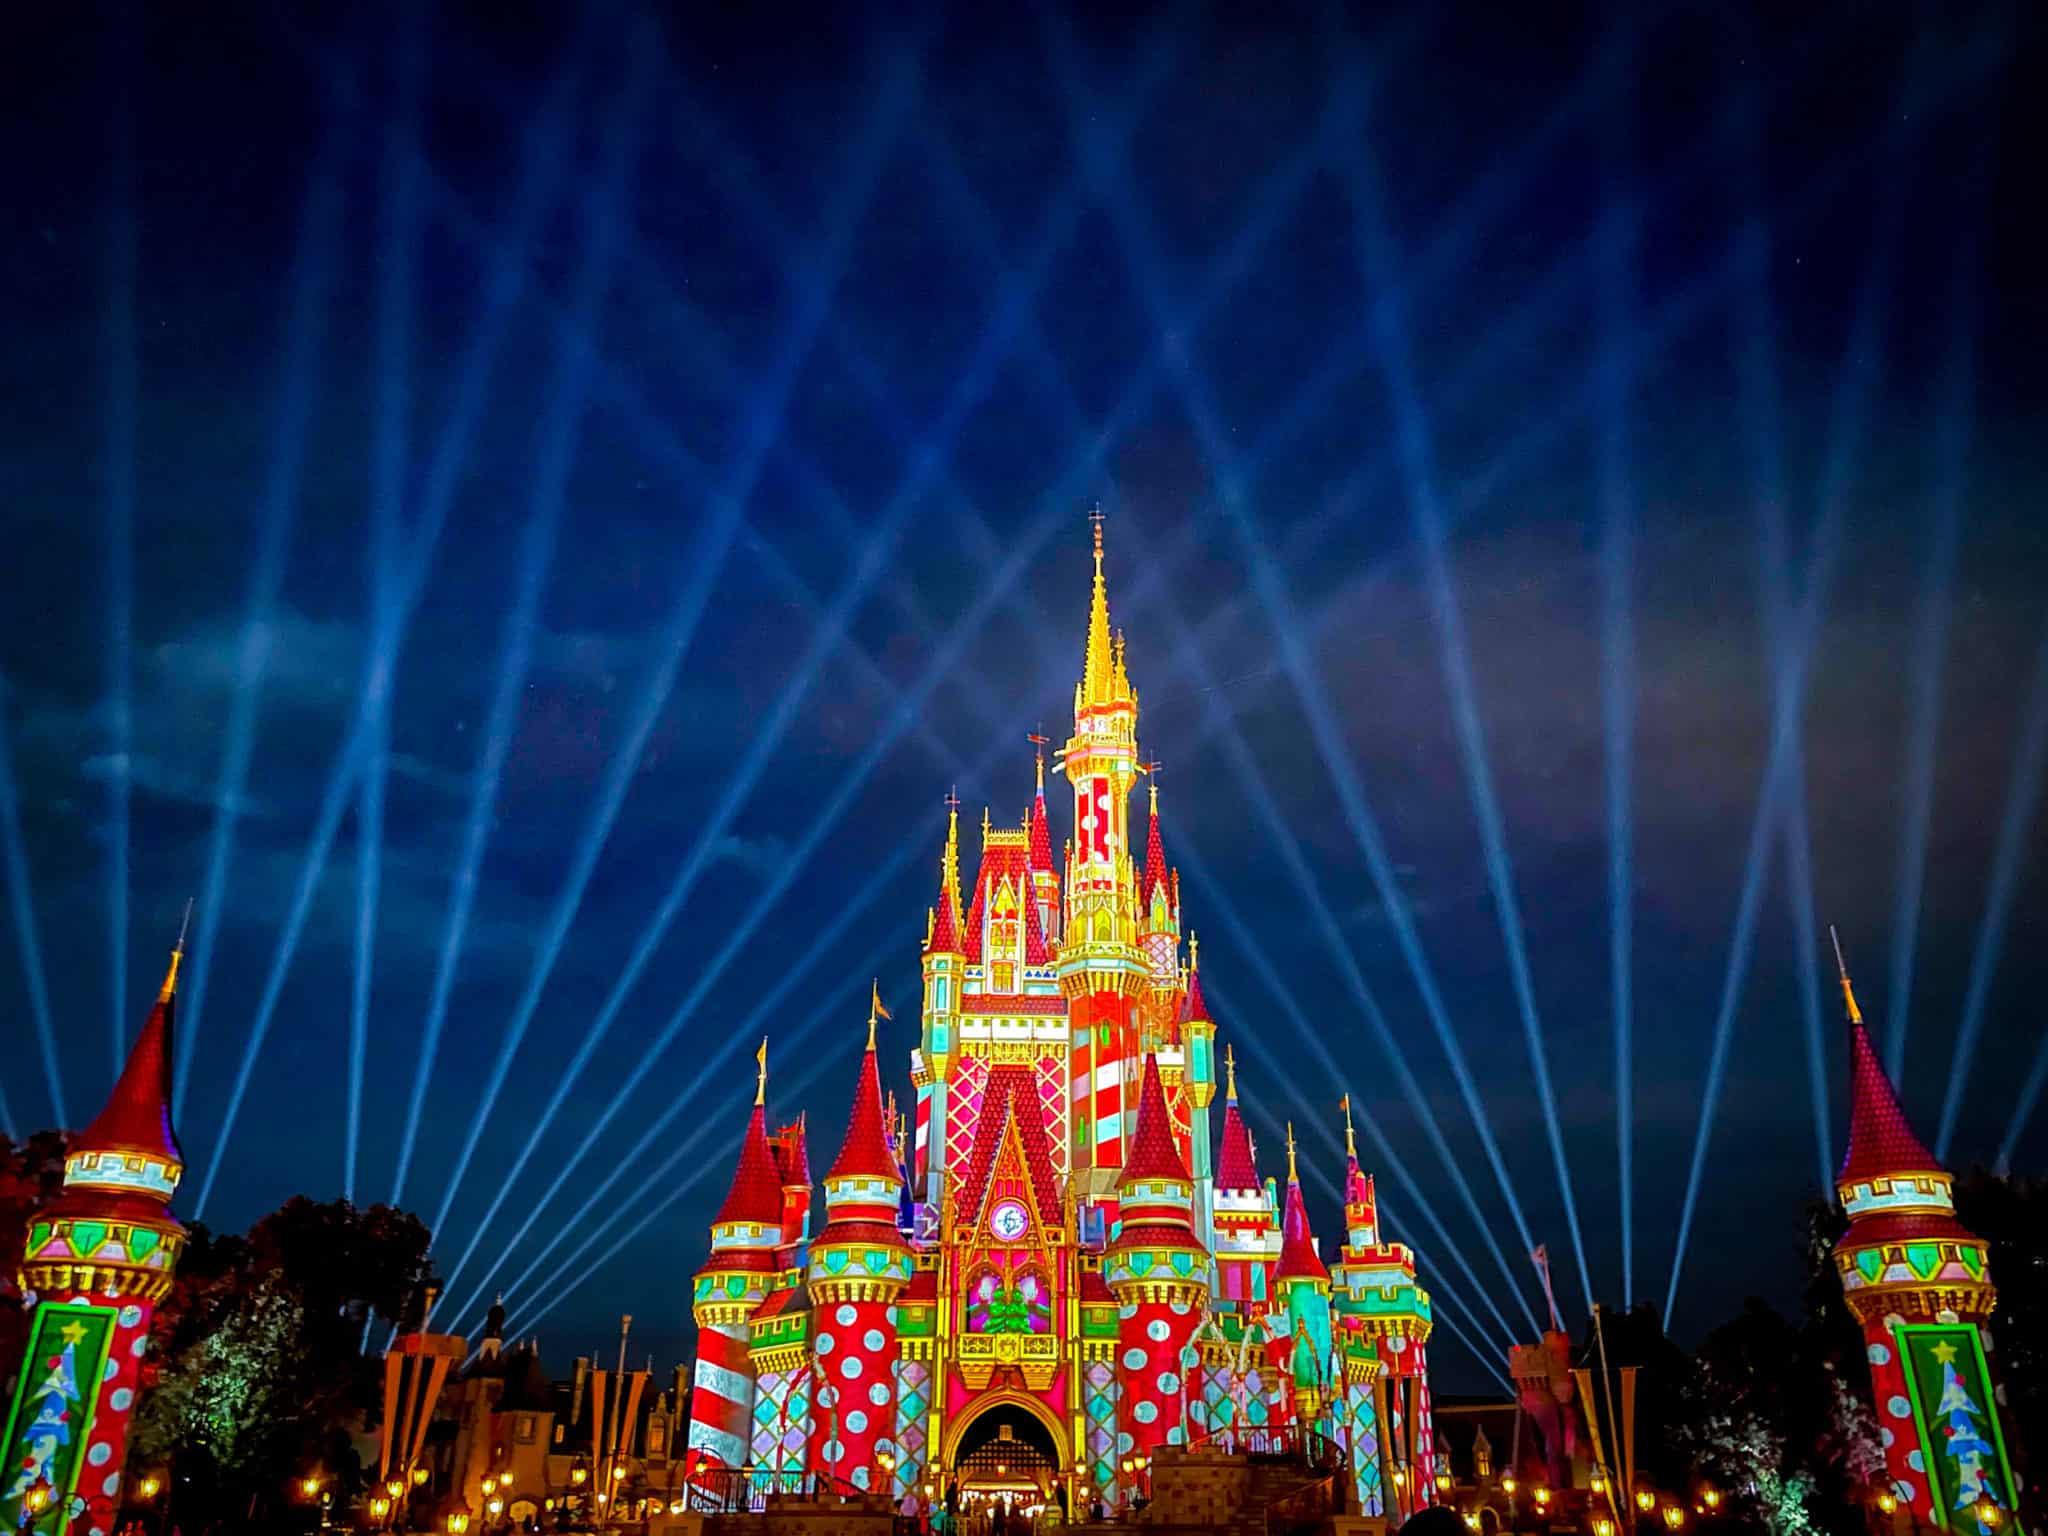
Best Times: 30 minutes after official park close. Lights create stunning color transitions.
Camera Setup: Use Night mode. Increase exposure manually if image is too dark.
Composition: Include plaza foreground. Wide lens captures full castle facade.
Pro Tip: Visit during extended hours nights for less crowded shots. Bring a tripod for shake-free images.
Peak Glow: Wait until full darkness (9 PM+). Plants glow brighter when ambient light drops.
Technique: Use Night mode with longest exposure. Let phone capture full glowing effect.
Framing: Get close to glowing plants. Include Avatar Flight of Passage in background.
Pro Tip: These photos look like digital art. Share without worry—they're magical legitimately!
Best Spots: Japan pavilion entrance at night, Epcot ball reflections in water.
Settings: Enable Night mode. Tap water reflections to focus on Spaceship Earth.
Timing: Visit during evening festivals for additional lighting installations.
Pro Tip: The more lights in frame, the better night mode performs.
Continue Planning
Explore more guides to perfect your Disney World trip